

iBasso DC04Ultra Firmware 1.92.30 Adds iPhone Volume Control
From: Vitor Valeri
A headphone hobbyist for over 15 years, he founded the Hi-Fi Hub website and is an administrator of the "Fones High-End" and "Fones Low-End" groups on Facebook.


Published in: 19/06/26 at 12:29
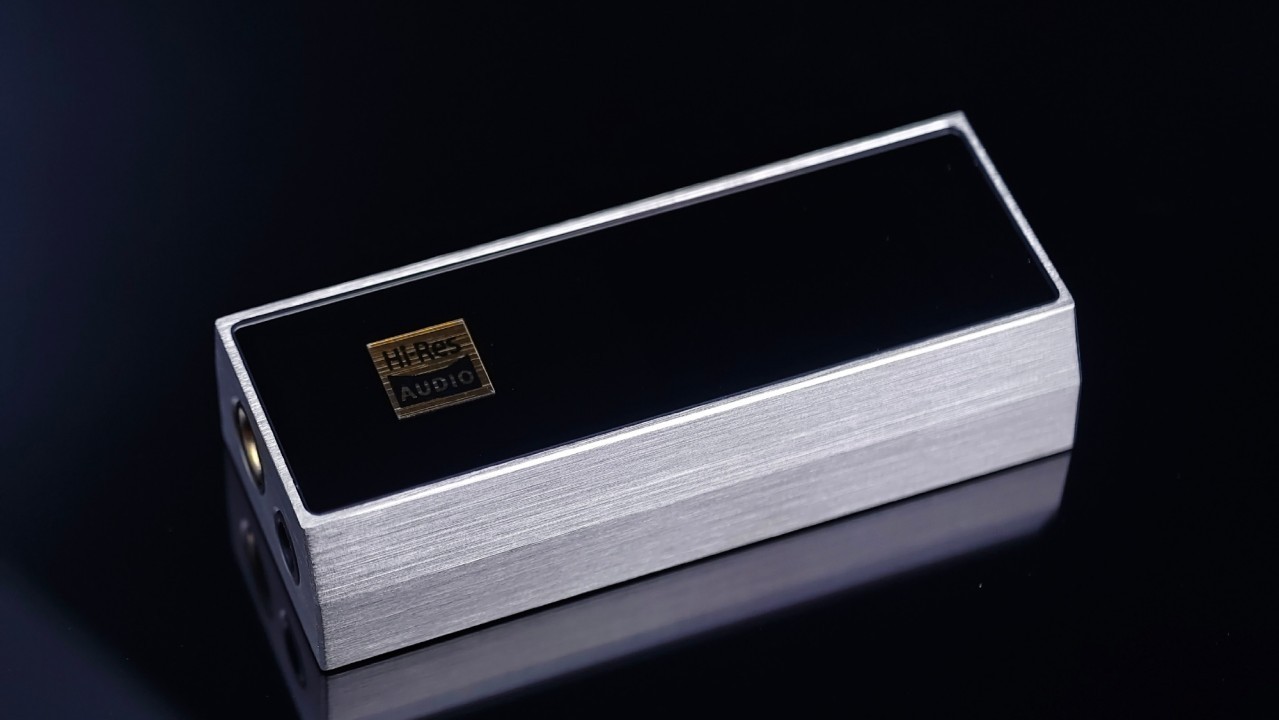
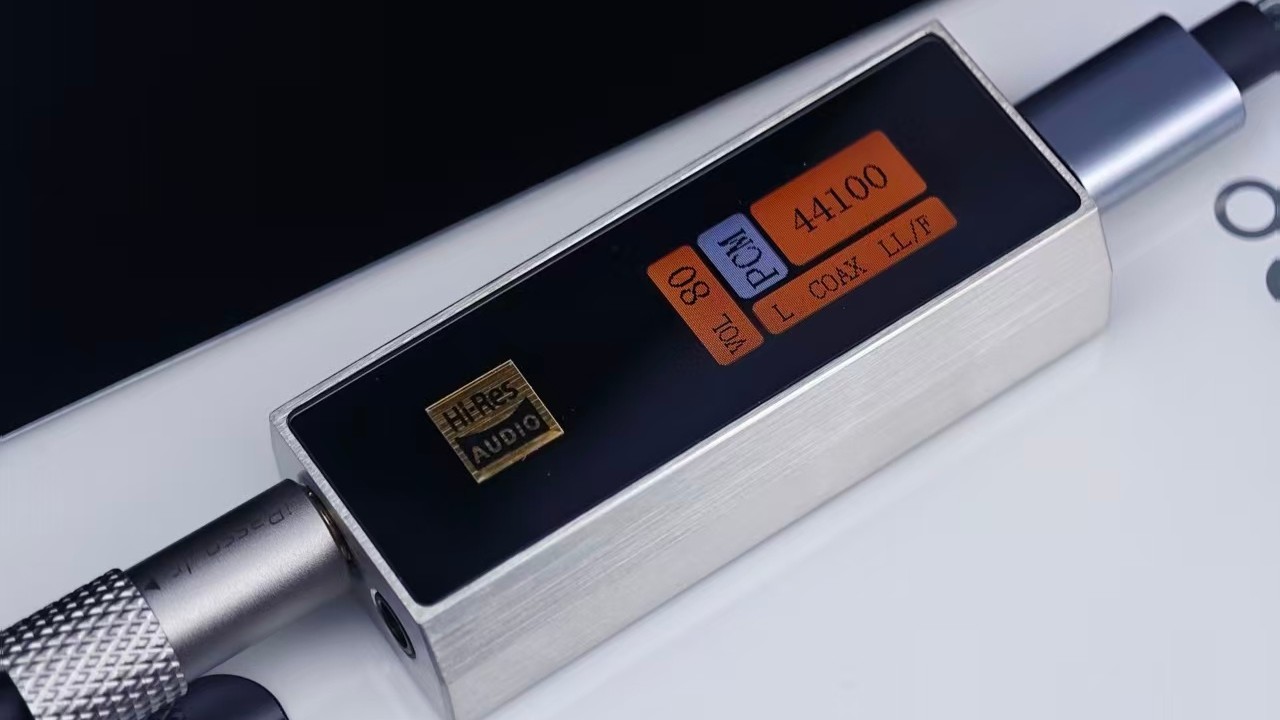 iBasso DC04Ultra Dongle DAC (Image: I'm a Kitty/weibo)
The firmware version 1.92.30 for the iBasso DC04Ultra was released last Wednesday (June 17). The new update introduces three new features along with “fixes for known issues,” although the manufacturer did not specify which issues were addressed. Users can now adjust the volume using an iPhone, modify the display brightness, and manually change the output voltage. Below are the details of the newly implemented features.
DC04Ultra Gains Brightness Adjustment, Output Voltage Control, and More
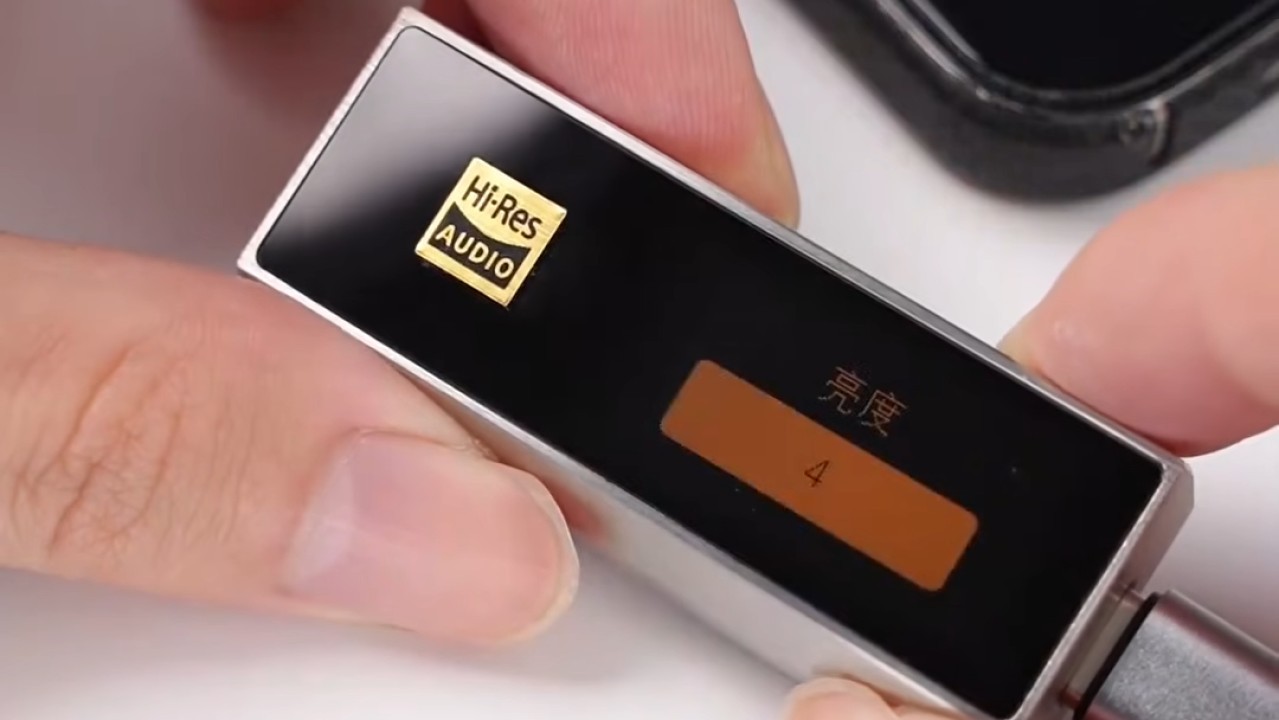
The firmware 1.92.30 update enables brightness adjustment on the iBasso DC04Ultra’s display. Previously, users had complained that the screen was excessively bright during nighttime use, causing discomfort. With the new firmware, the display brightness can now be adjusted across 10 levels.
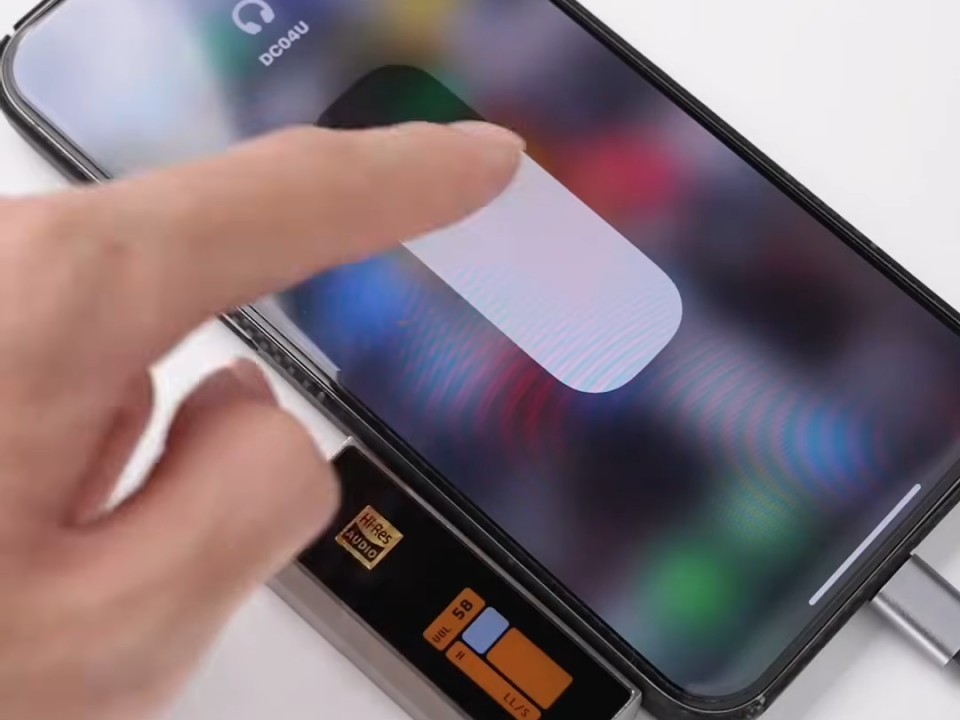
Another highly requested feature was the ability to control the DC04U’s volume directly from a smartphone. iPhone users wanted to be able to adjust the volume level using the phone’s physical buttons or by interacting with the touchscreen. As shown in the image below, this functionality is now available after updating to the latest firmware.
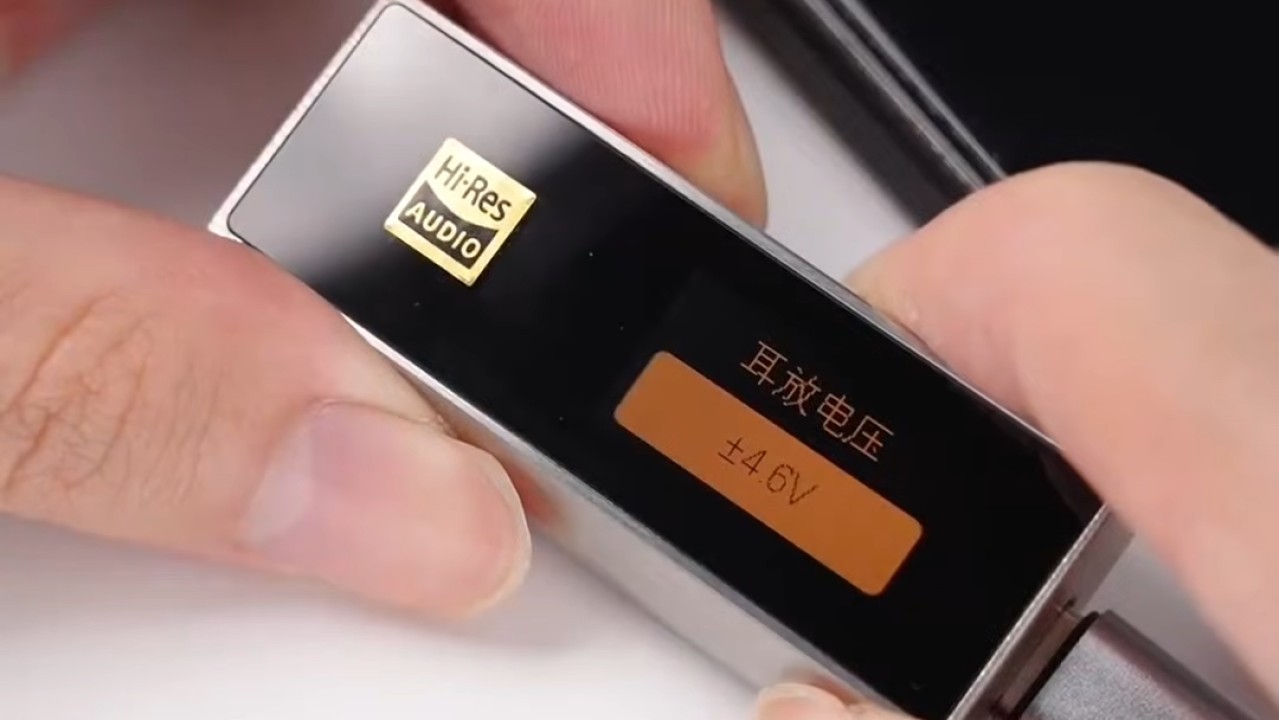
Finally, iBasso has implemented a feature that allows users to adjust the DC04Ultra’s output voltage. Users can now switch between 4.5V and 6V, making it possible to better match the power requirements of different headphones and earphones.
iBasso DC04Ultra: Firmware 1.92.30 Changelog
Below is the official changelog for the iBasso DC04Ultra firmware version 1.92.30.
- Enabled volume adjustment from the master device.
- Added brightness adjustment.
- Updated portions of the user interface content.
- Fixed other known issues.
How to Update the iBasso DC04Ultra Firmware
The iBasso DC04Ultra firmware must be downloaded from the manufacturer’s website and installed using a Windows PC. Follow the steps below.
Step 1: Download the firmware using the provided link and extract the files to a dedicated folder.
Step 2: Connect the DC04U to a Windows computer and run the “odt_usb_downloader_v1.2.6” application located in the folder where the firmware files were extracted.
Step 3: In the upper-left corner of the window, under “Device,” select “VID_0661 & PID_0883.”
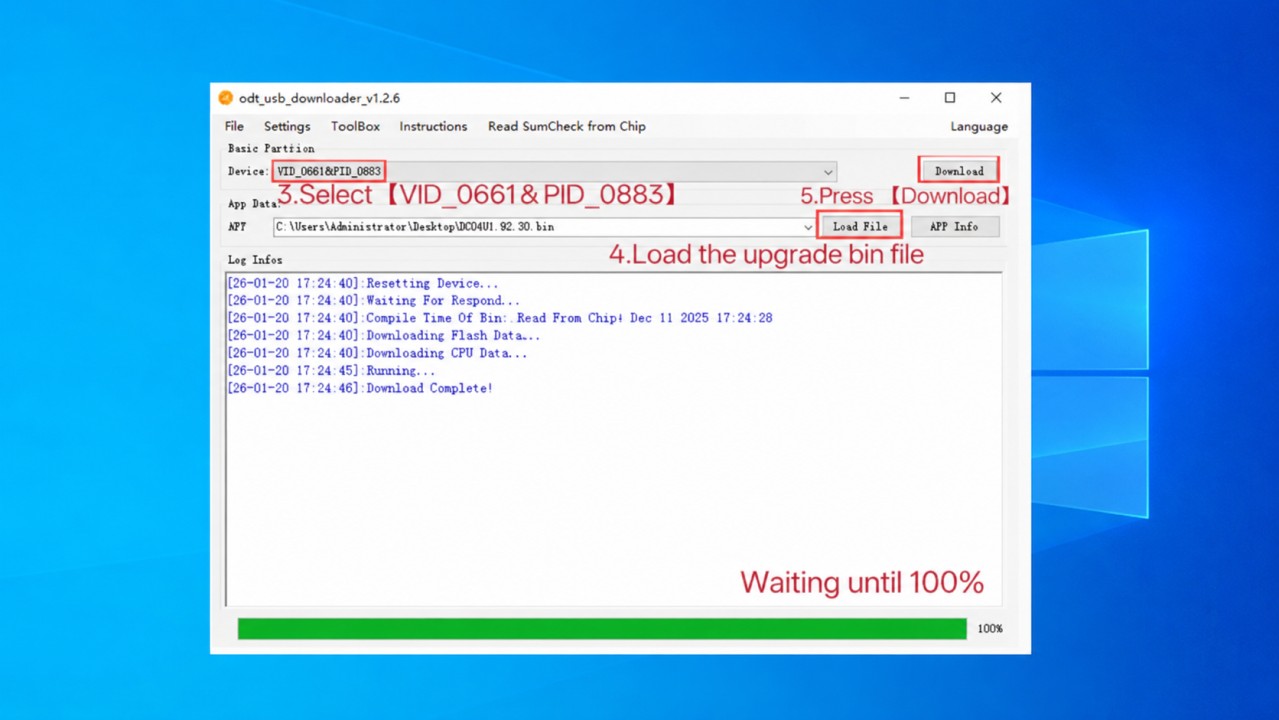
Step 4: Slightly below and to the right, click “Load File” and select “DC04U1.92.30.bin” from the folder where the firmware files were extracted.
Step 5: Click the “Download” button and wait a few seconds.
Once the progress bar reaches 100%, the firmware installation process will be complete.
Share:


Product launches
YBA VIBE P1: Portable R2R DAC/Amp Announced
Product launches
FiiO FT15 Launches With New Planar Driver and Lighter Build
Product launches
No comments have been made yet, be the first!