How to Configure Android DAPs for Better Performance and Smoother Operation
From: Vitor Valeri
A headphone hobbyist for over 15 years, he founded the Hi-Fi Hub website and is an administrator of the "Fones High-End" and "Fones Low-End" groups on Facebook.
Published in: 23/12/25 at 14:55 - Updated in: 16/01/26 at 11:47
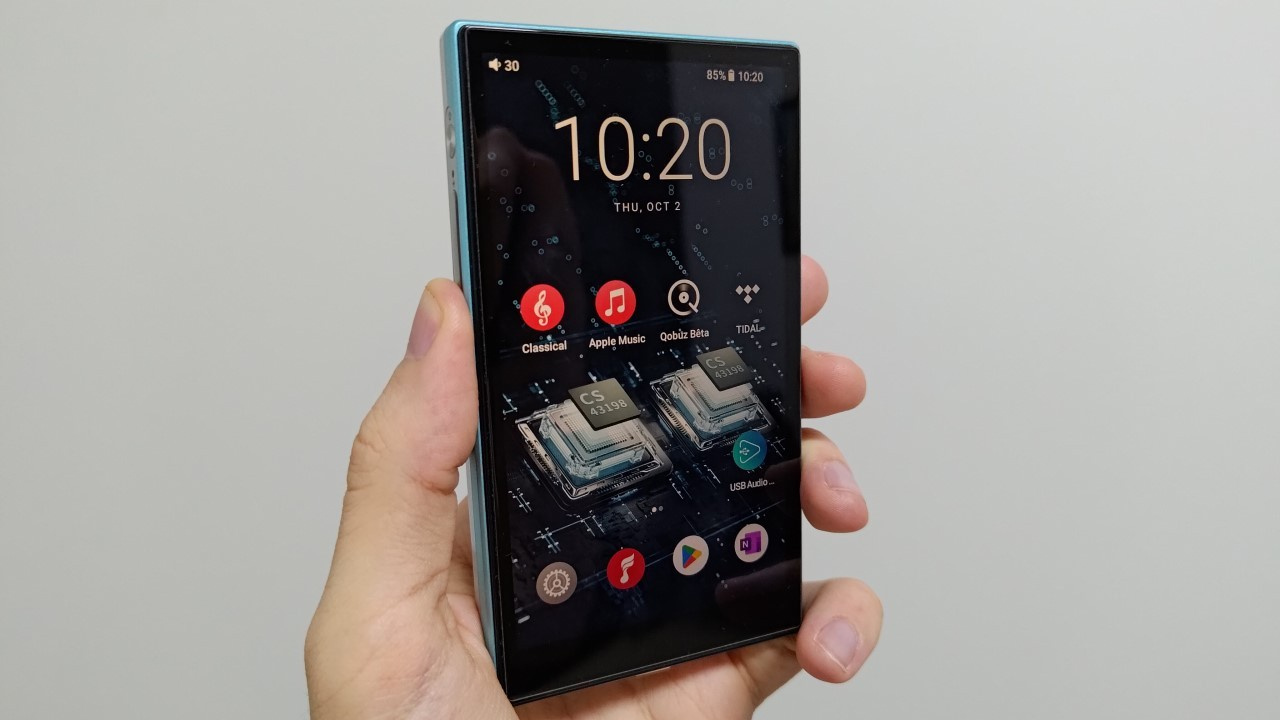 Illustrative image showing how to configure Android DAPs for improved smoothness (Image: Vitor Valeri/Hi-Fi Hub)
Android Digital Audio Players (DAPs) may come with several Google applications and services, as well as operating system (OS) features, that are unnecessary for music playback. By disabling certain applications and functions, it is possible to improve the smoothness of navigation within the OS interface and the apps on the DAP. With this in mind, the step-by-step procedures to perform these optimizations on your device are listed below.
Disable Google Chrome synchronization
To disable Google Chrome synchronization, follow the steps below:
Step 01: Open the Google Chrome app.
Step 02: Tap the three dots in the upper-right corner.
Step 03: Select Settings.
Step 04: Tap your Google profile name.
Step 05: Disable History and tabs, Reading list, Addresses and more, and Payment methods.

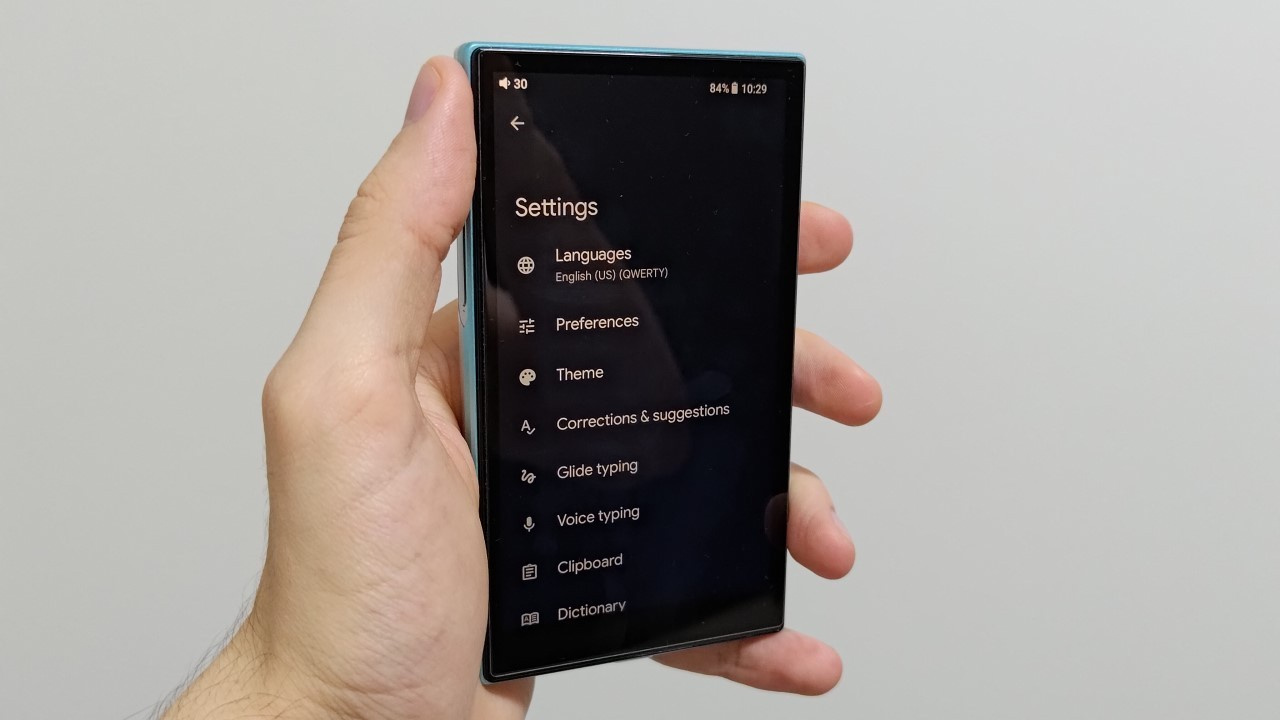
Disable Gboard virtual keyboard features
To disable Gboard features, follow the steps below:
Step 01: Tap any text field to make the Google keyboard (Gboard) appear.
Step 02: Select the gear icon to access Settings.
Step 03: Tap Text correction and disable all features.
Step 04: Select Glide typing and disable all functions.
Step 05: Tap Voice typing and disable all features.
Step 06: Select Emojis, stickers, and GIFs and disable all resources.
Step 07: Tap Privacy and disable all features.
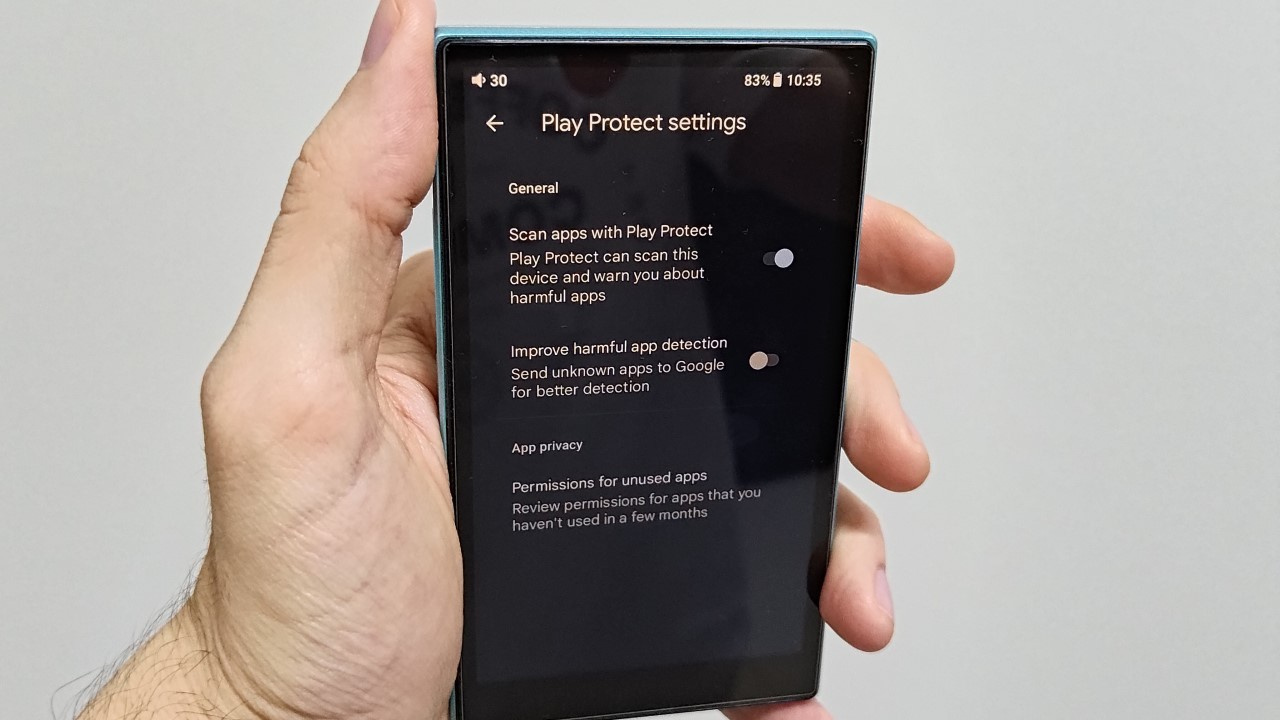
Disable harmful app detection in the Play Store
To disable the harmful app detection feature in the Play Store, proceed as follows:
Step 01: Open the Play Store app.
Step 02: Select your profile picture in the upper-right corner.
Step 03: Tap Play Protect.
Step 04: Select the gear icon in the upper-right corner.
Step 05: Disable Improve harmful app detection.
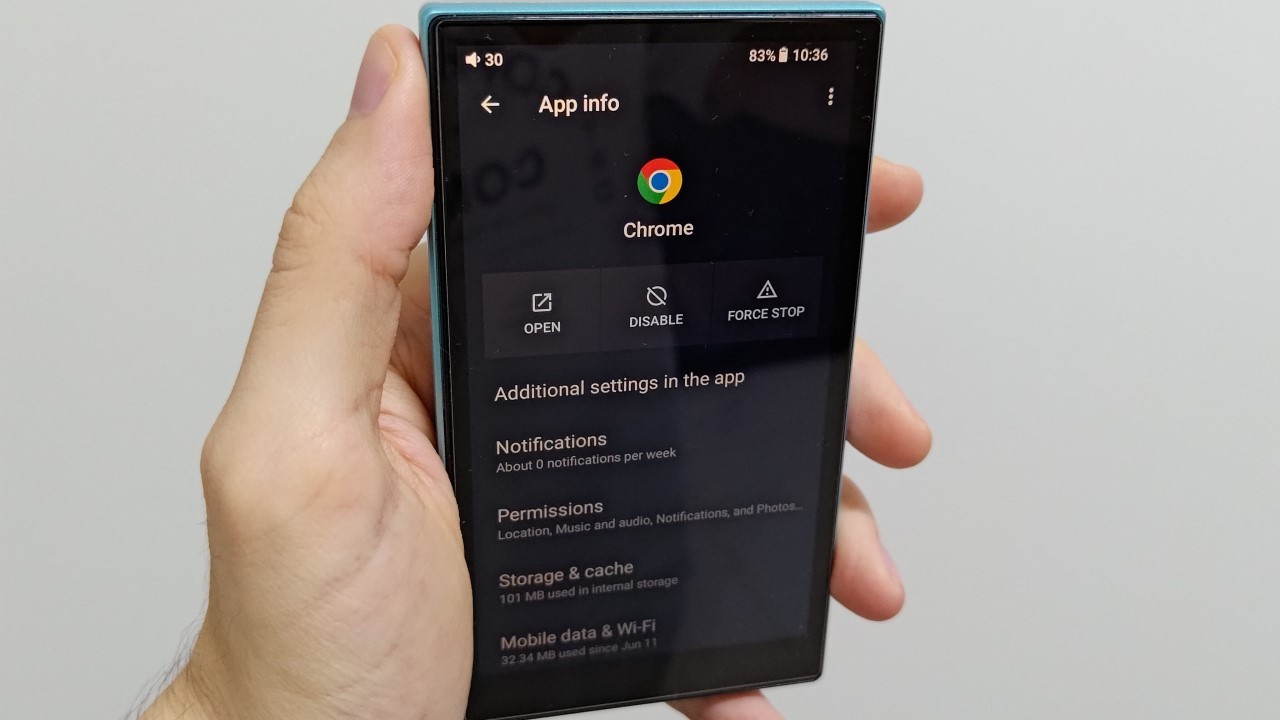
Disable unused Google apps
To disable Google apps that will not be used, follow the steps below:
Step 01: Open the Settings app.
Step 02: Locate and select Apps.
Step 03: Find the desired application and tap on it.
Step 04: Select Disable.
It is recommended to disable the following Google applications on Android DAPs:
• Google Calendar
• Gmail
• Google TV
• Google Maps
• Google Meet
• Google Photos
• YouTube
Disable Google Assistant
To disable Google Assistant, follow the steps below:
Step 01: Open the Settings app.
Step 02: Use the search bar and type “Google Assistant.”
Step 03: Locate General and select it.
Step 04: Disable Google Assistant.
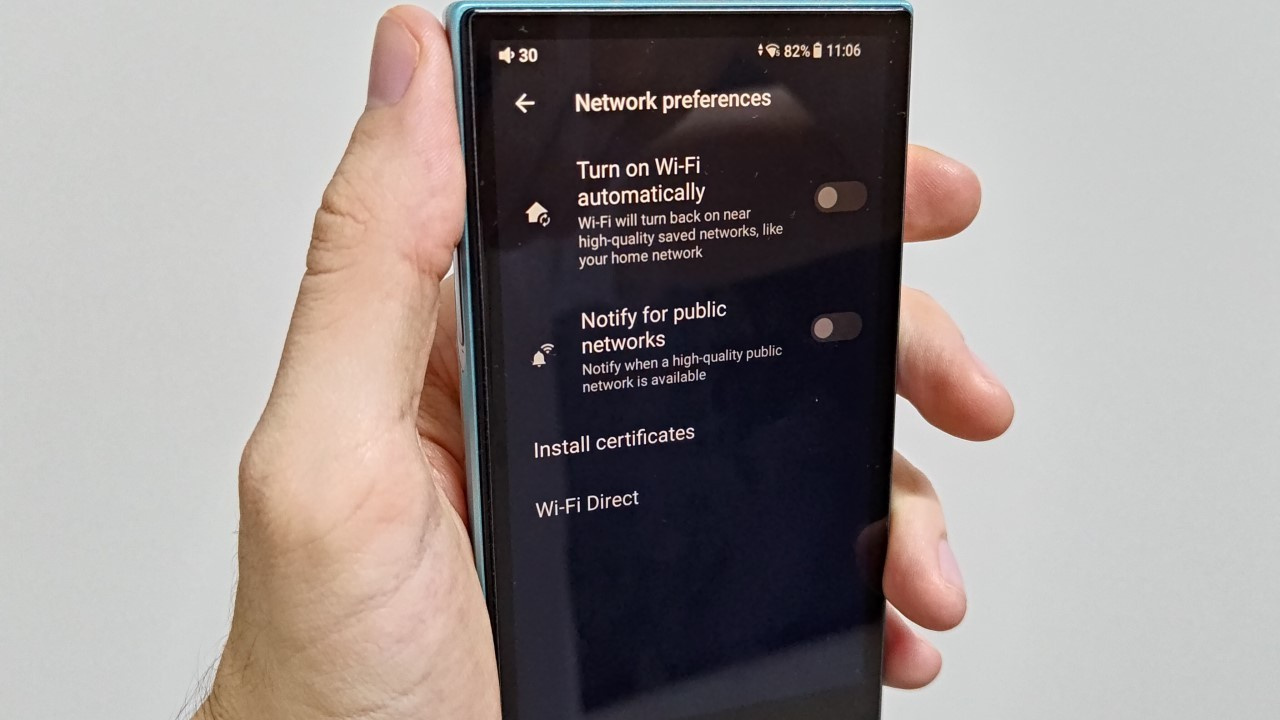
Disable Network & Internet automations
To disable Network & Internet automations, follow the steps below:
Step 01: Open the Settings app.
Step 02: Select Network & Internet.
Step 03: Tap the name of the connected network or tap Internet.
Step 04: Go to Network preferences and disable the following options:
Step 05: Turn on Wi-Fi automatically and Notify for public networks.
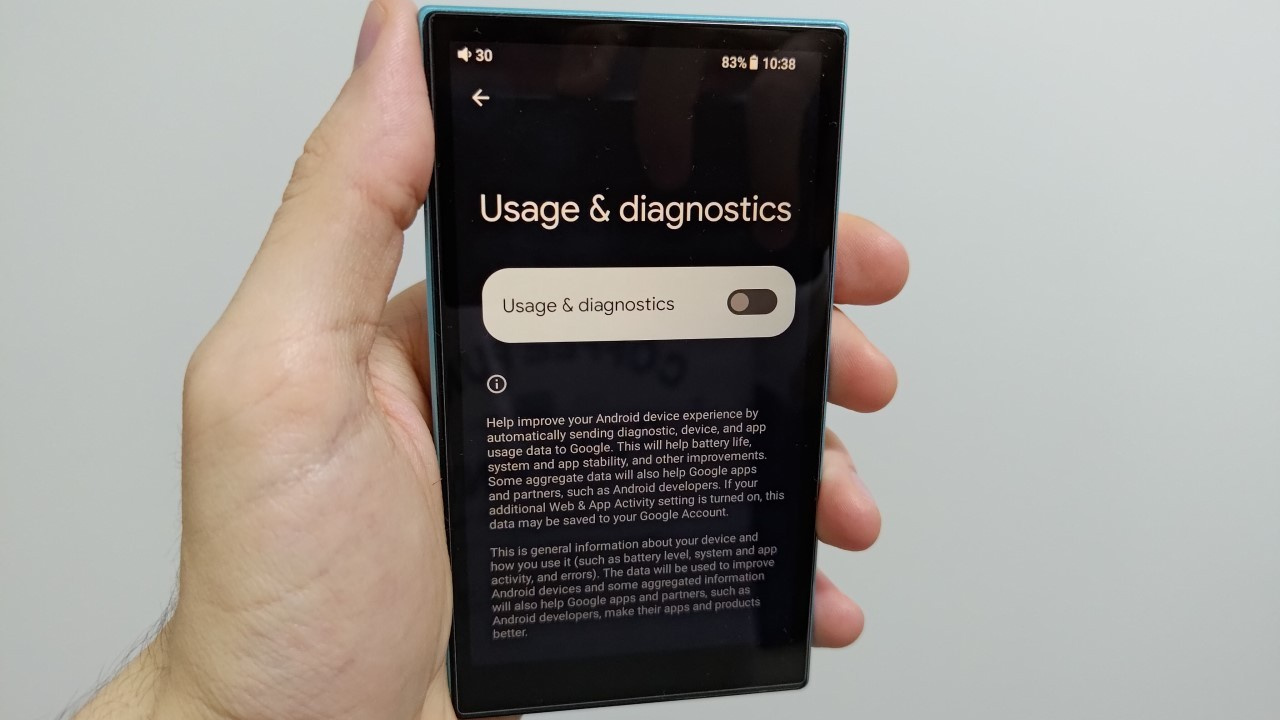
Disable “Usage & Diagnostics” in Security & Privacy
To disable the Usage & Diagnostics feature in Security & Privacy, follow the steps below:
Step 01: Open the Settings app.
Step 02: In the search bar at the top, type “More security & privacy” and select the option to open it.
Step 03: Select Usage & Diagnostics and disable it (if enabled).
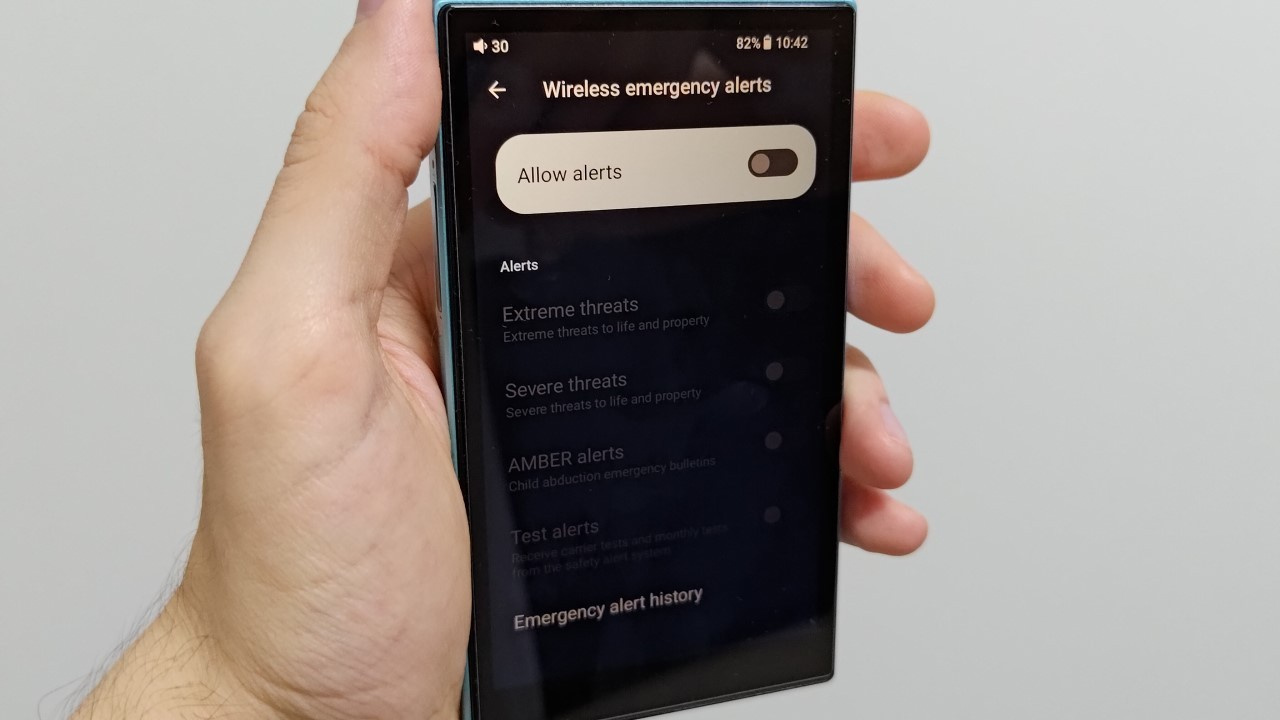
Disable Safety & Emergency alert services
To disable the alert services in Safety & Emergency, follow the steps below:
Step 01: Open the Settings app.
Step 02: In the search bar at the top, type “Safety & Emergency.”
Step 03: Disable Emergency location service, Earthquake alerts, and Unknown tracker alerts.
Disable monitoring features in Digital Wellbeing & Parental Controls
To disable monitoring features in Digital Wellbeing & Parental Controls, follow the steps below:
Step 01: Open the Settings app.
Step 02: In the search bar at the top, type “Digital Wellbeing & parental controls.”
Step 03: Tap the three dots in the upper-right corner and select Manage your data.
Step 04: Disable Daily phone usage and Time zone history.
Share:


No comments have been made yet, be the first!