iBasso DX260 MK2 gets Mango OS-only firmware, drops Android
From: Vitor Valeri
A headphone hobbyist for over 15 years, he founded the Hi-Fi Hub website and is an administrator of the "Fones High-End" and "Fones Low-End" groups on Facebook.
Published in: 03/04/26 at 12:42
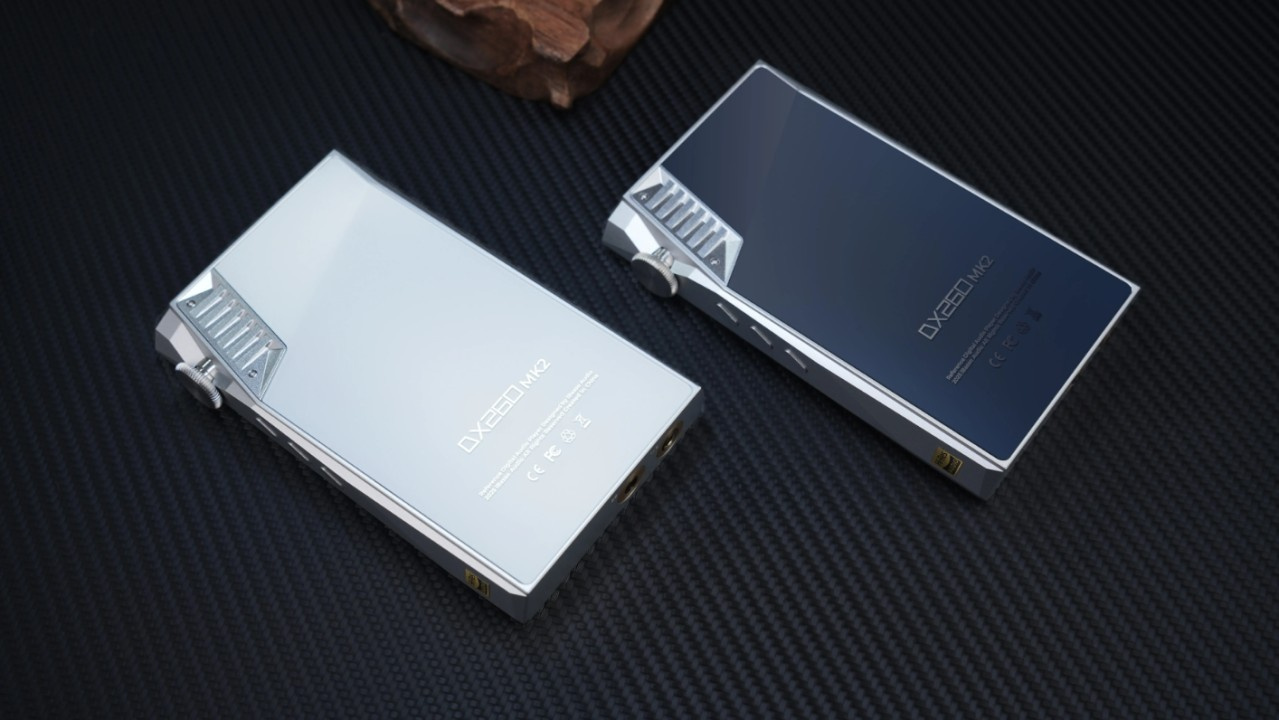 iBasso DX260 MK2 Digital Audio Player (DAP) (Image: iBasso)
The new firmware for the iBasso DX260 MK2 released today (April 4) includes only Mango OS, abandoning Android. This means it is no longer possible to switch between operating systems, as was the case with previous firmware versions released by the manufacturer of the Digital Audio Player (DAP). See below how it works and what to do if you wish to retain access to Google’s operating system.
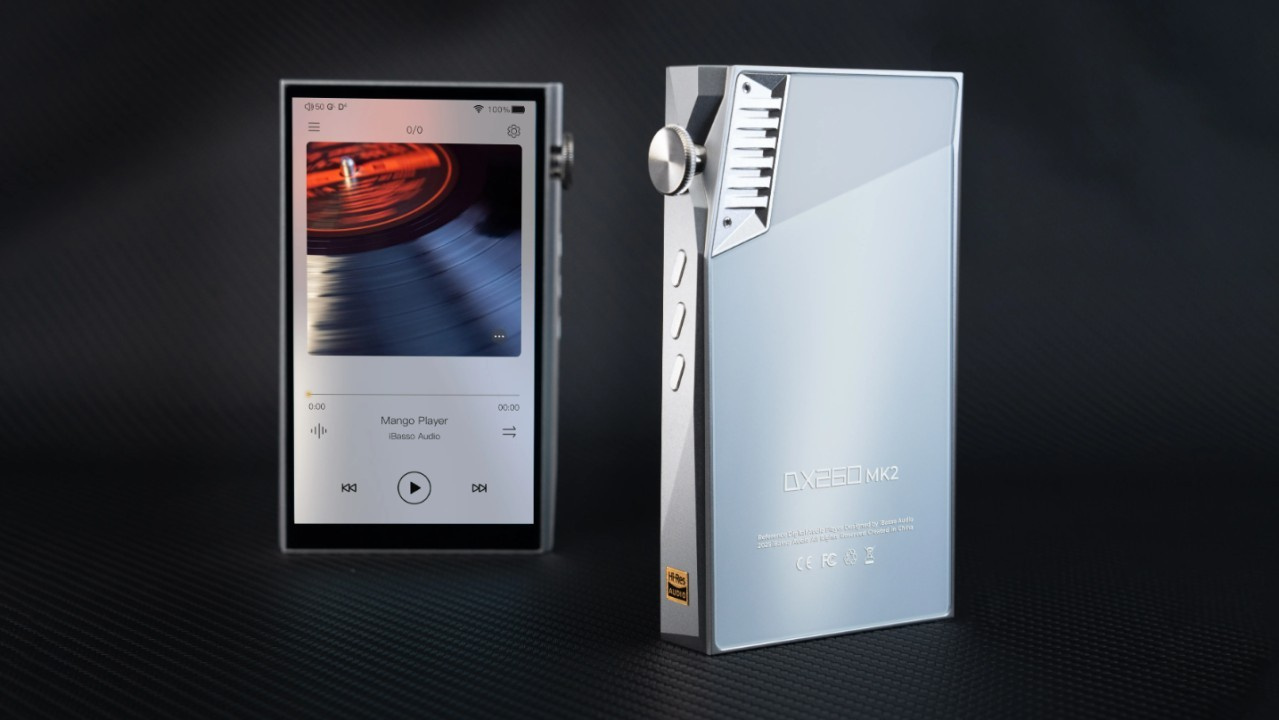
DX260 MK2 becomes a non-Android DAP with new firmware
Released on April 3, the “Pure Mango OS Firmware V1.0” for the DX260 MK2 was developed for enthusiasts seeking audio reproduction with the lowest possible level of interference.
Unlike the DAP’s “standard” updates, which feature a dual-boot system allowing the use of two operating systems, the “Pure Mango OS” firmware restricts operation to a single operating system.
Who is the “Pure Mango OS” firmware for?
The target audience for the “Pure Mango OS” firmware consists of users who do not require music streaming applications and seek only the “maximum” sound quality.
What happens when installing the new firmware?
When installing the “Pure Mango OS Firmware V1.0” on the DX260 MK2, the DAP will only have the option to boot into Mango OS, the operating system developed by iBasso.
Where can the new firmware be downloaded?
To download the new firmware, access the DX260 MK2 downloads page on the iBasso website via this link.
How to install the new firmware?
To install the new firmware, follow the step-by-step instructions provided by iBasso below:
Step 01: Download firmware V1.0, named “Pure Mango OS,” via this link.
Step 02: After downloading the file, copy it to the internal storage of the DX260 or to a microSD card.
Step 03: Select “Settings” in the upper-right corner of the home screen, tap “System,” and select “System Upgrade.”
Step 04: Tap the three dots (“…”) in the upper-right corner of the screen and select “Local Update.”
Step 05: Select the firmware file and tap “Install.”
After installation, the DX260 MK2 will automatically restart and boot into Mango OS.
Is it possible to return to the standard dual-boot firmware?
Yes. Simply install firmware version V1.02. To do so, iBasso has provided step-by-step instructions for manually downgrading the firmware, as outlined below:
Step 01: Download firmware V1.02 for the DX260 MK2 via this link.
Step 02: Extract the folder from the file “DX260MK2FW-ota-v.1.02,” locate the file “DX260MK2_full_ota_1.02.432,” and rename it to “DX260MK2_update.”
Step 03: Select “Settings” in the upper-right corner of the home screen and tap “Advanced Settings.”
Step 04: Scroll down until you find “System Information,” then select “System Update.” After that, tap “Confirm” and wait for the process to complete.
Step 04: Scroll down until you find “System Information,” then select “System Update.” After that, tap “Confirm” and wait for the process to complete.
Once the firmware installation is complete, the DX260 MK2 will automatically boot into the Android operating system.
Share:
Product launches
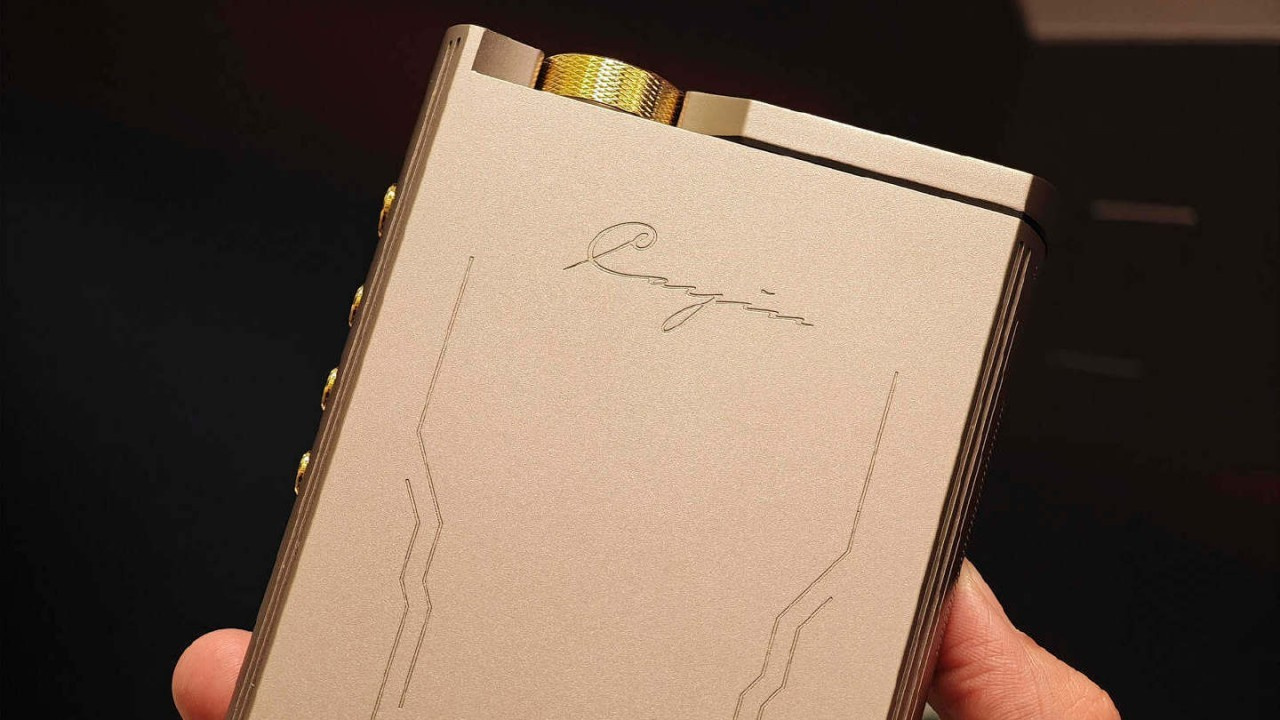
Cayin N8iii: Release Date and Specs Revealed
Product launches
No comments have been made yet, be the first!